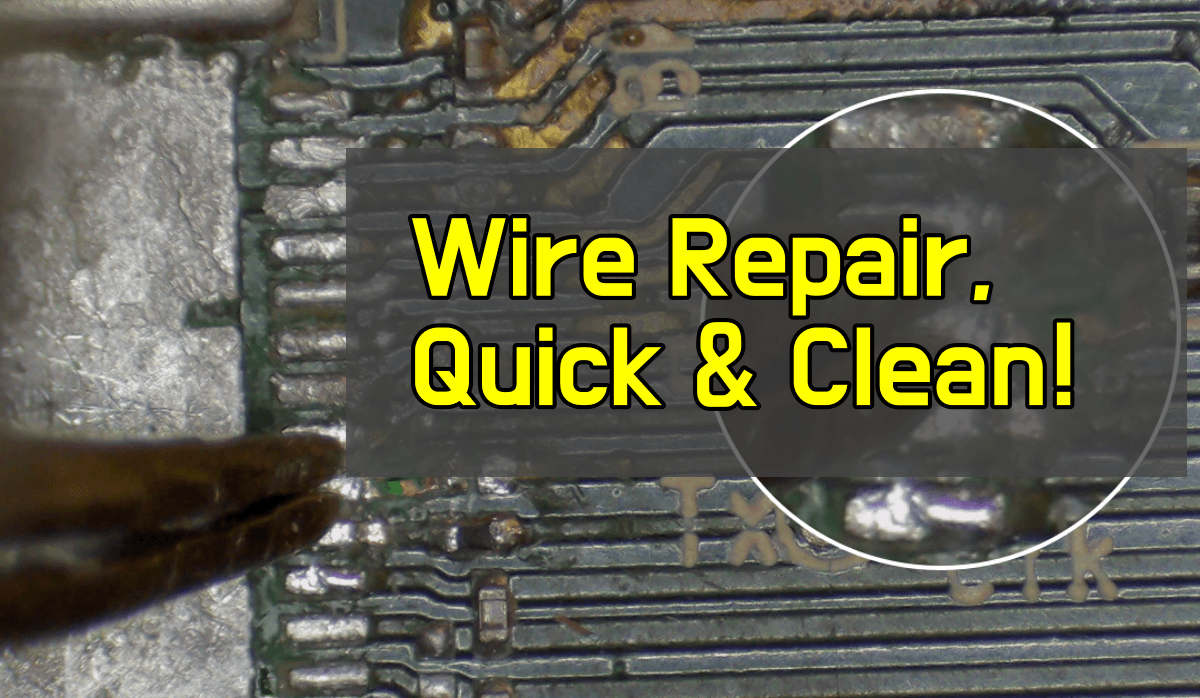
When repairing crypto miners, especially the Antminer s19, it’s common to come across hashboards with various issues. One of the most visible problems is damaged wiring, which can cause serious connectivity failures if not handled properly.
A common scenario in Antminer wire repair involves damage near the ASIC chips. If the damage happens in an area without nearby chips, the fix is usually easier. However, in most cases, the wire damage occurs right underneath or close to the ASIC chips, making the repair process more delicate and technical.
Each ASIC chip must be properly connected to the board through fine pin wires. When these wires are damaged, they can become loose, shift position, or worse—connect to the wrong pins. This misconnection can lead to short circuits or malfunctioning chips.
Here’s a quick step-by-step guide to perform proper Antminer wire repair on an S19 unit:
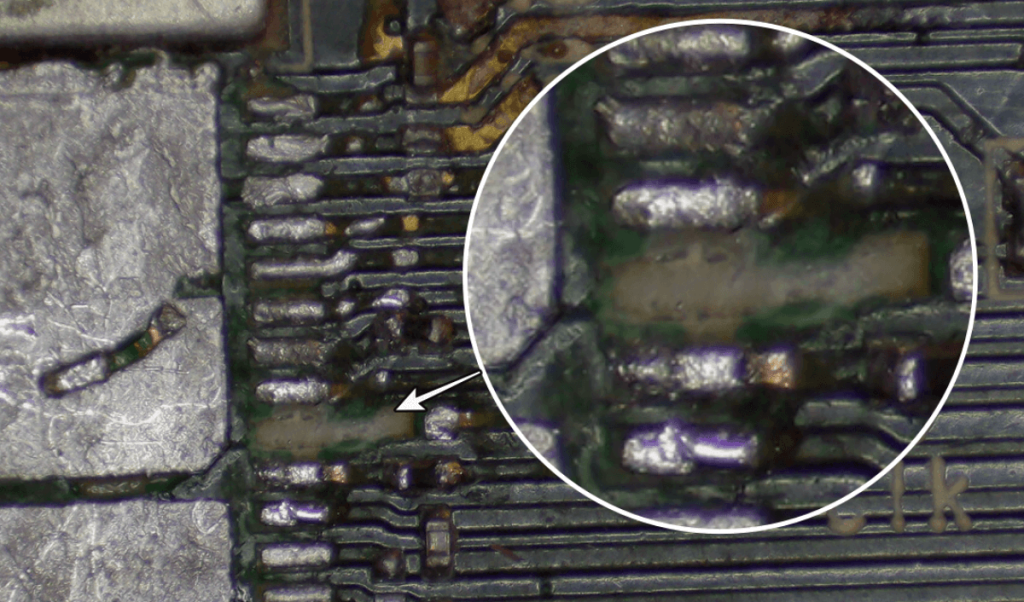
1. Identify the Damage
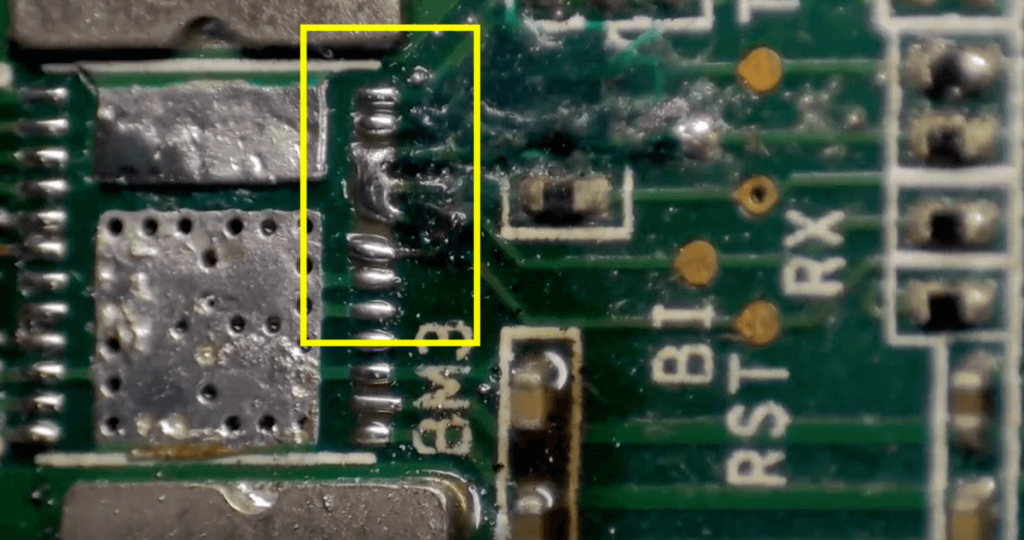
Start by locating the damaged wire. As shown in the image below, you’ll notice a clear break or thinning in the connection. If the wire is loose or unstable, it’s best to cut it clean rather than trying to salvage it.
⚠️ Important: Only cut the damaged wire, and make sure to cut it all the way to the pin. Leaving a small piece behind can cause uneven height when placing a new wire, which may result in dry soldering on adjacent pins.
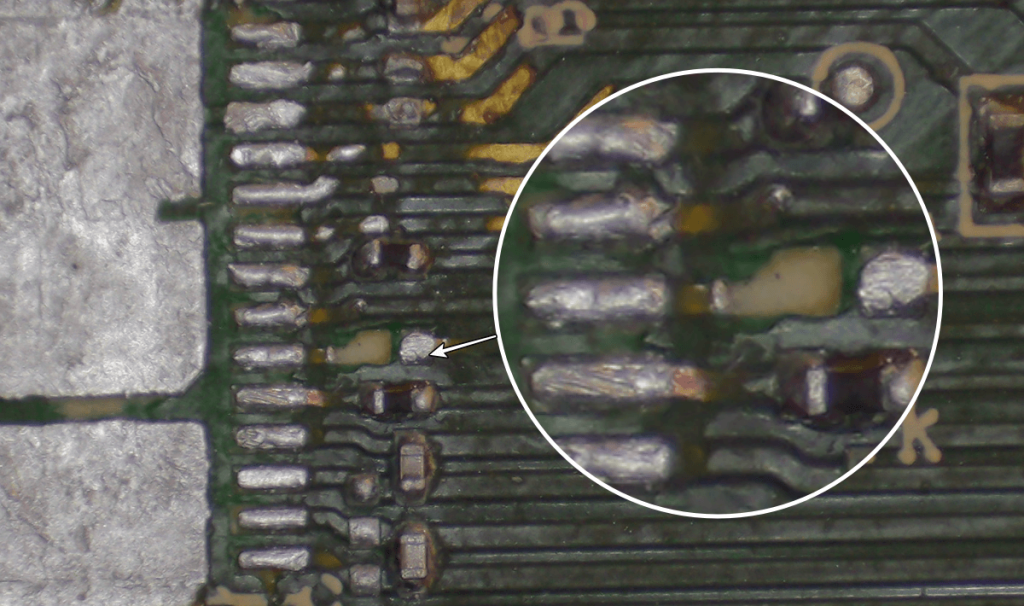
2. Prepare a Replacement Wire
Take a new wire with a pin from another board and match it to the damaged spot. Choose a location where you can visually align and fix the wire accurately, just like shown in the second image below.
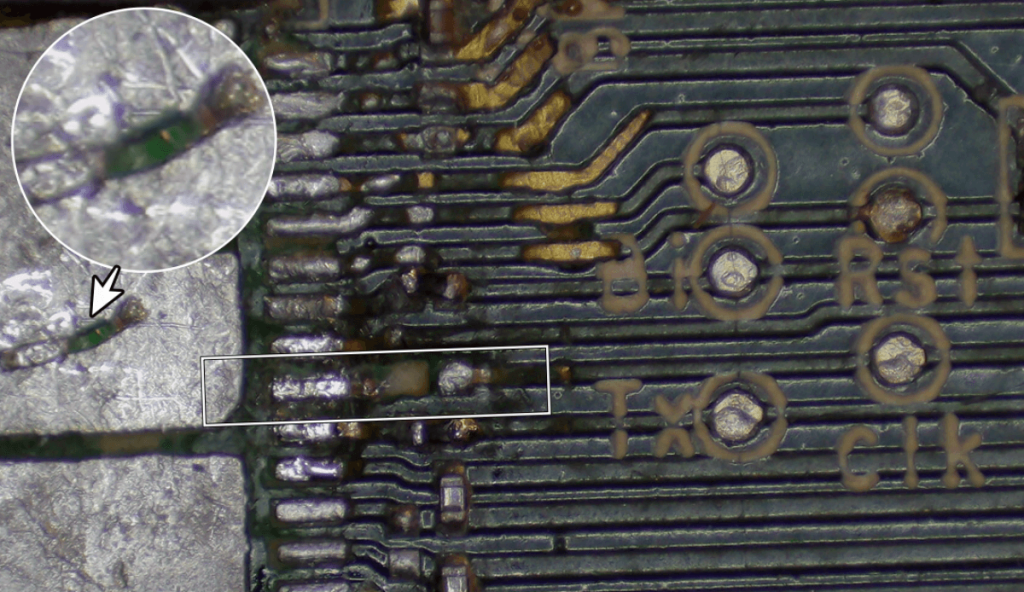
3. Apply UV Solder Mask Ink
Once the replacement wire is in position, apply UV Solder Mask Ink to the base where the pin will be placed. This ink helps hold the wire in place before soldering. Use a UV light for 2–3 minutes to cure the ink and lock the wire in place.
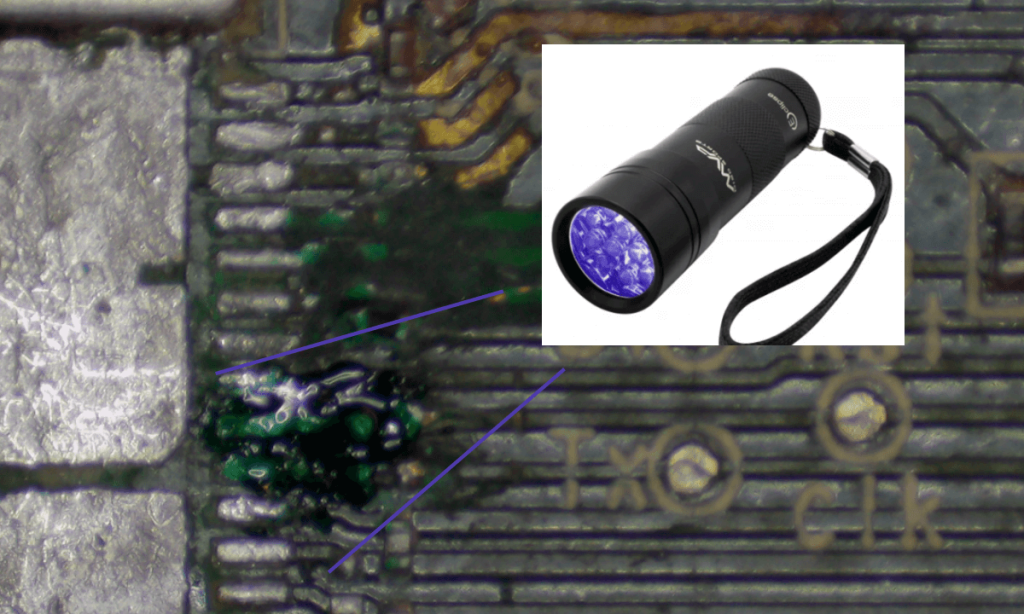
⚠️ If you skip this step, the pin can move or tilt during soldering, potentially sticking to neighboring pins—creating another wire repair problem like shown in the example below.
4. Final Checks and Chip Installation
After curing, gently test the pin to ensure it’s firm. Then solder the wire to the board, making sure it connects properly with the existing trace. Once confirmed, you can safely reinstall the ASIC chip.
Performing proper Antminer wire repair is crucial for keeping your Antminer S19 running efficiently. Attention to detail—like wire positioning and curing with solder mask—can make the difference between a successful repair and recurring issues.